


Site Tour with Test Users
Choose a test user to login and take a site tour.
Choose a test user to login and take a site tour.


8 minutes, 0 seconds
-10 Views 0 Comments 0 Likes 0 Reviews
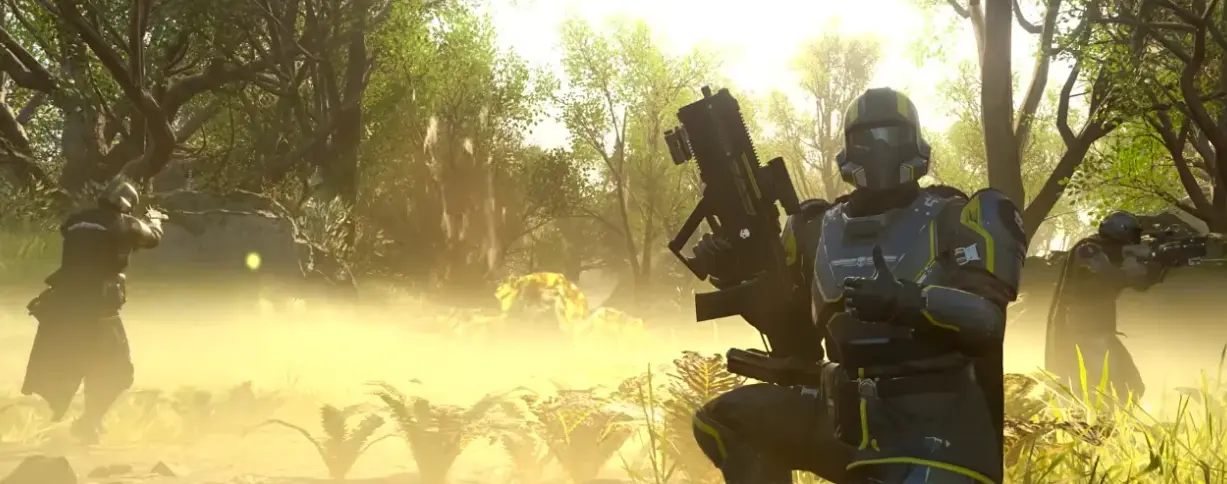
Let’s be honest: Helldivers 2 has some of the coolest Premium Warbonds out there, but grinding out those 1,000 Super Credits (SC) by just playing normally can feel like an absolute crawl. If you don't want to open your real-world wallet but still want to rock the latest explosive weapons and booster perks, you need a dedicated strategy.
The good news is that you can reliably farm anywhere from 500 to 1,000 Super Credits per hour if you optimize your run. The absolute best part of this farming loop? You don't need to finish the mission, and you don't need to extract. The moment you pick up Super Credits, they are instantly tied to your account. You can literally grab the loot, quit to your ship, and keep every single credit.
Here is the exact breakdown of how to set up, load out, and execute the fastest credit farm in the galaxy.
When you are farming credits, combat efficiency doesn't matter. Speed is everything. Every single piece of gear you choose should maximize your mobility and your ability to open locked containers instantly.
Armor: Always wear Light Armor. Look for sets featuring the Scout passive, which lets you place radar pings to reveal points of interest, or the Oxygenator passive for that much-needed stamina boost and longer running duration.
Booster: Equip Stamina Enhancement or Experimental Infusion. You want to be sprinting continuously between distant loot nodes without stopping to catch your breath.
Support Weapons: Bring the Anti-Materiel Rifle (AMR) or a Grenade Pistol. These allow you to blast open metal cargo container doors from a distance, saving you from wasting precious seconds or offensive stratagems.
Mobility Stratagems: Use the Fast Recon Vehicle (FRV) or the Warp Pack / Jump Pack. The FRV is an absolute game-changer for driving across flat maps at high speeds while keeping your mini-map open to spot targets.
Not all maps are created equal. If you drop onto a planet choked with massive mountains, deep lakes, or heavy jungle foliage, your credits-per-hour rate will plummet. You want clear, open terrain.
Difficulty: Select Difficulty 1 (Trivial). This is the secret sauce. Low difficulty spawns much smaller maps, minimizes annoying enemy interference, and actually increases the spawn rate of currency instead of cluttering the pool with rare samples or heavy weapons.
Faction Front: Always head to the Terminid (Bug) front. Bug maps rarely feature ranged enemies that can snipe you out of your vehicle or inflict status effects that slow down your sprint.
Planet Biome: Look for wide-open desert planets or flat barrens, like Grand Erit or Fact Bay. Clear sightlines make it incredibly easy to visually spot points of interest from across the map.
Mission Type: Choose standard 40-minute missions like "Raise Super Earth Flag" or "Destroy Bug Nests". Completely avoid "Eliminate" or specific tracking missions, as these map types intentionally reduce the number of points of interest that generate.
The cycle is simple and structured: Drop In, Scan Radar, Loot Containers, and Return to Ship Alone.
When choosing your drop point, spawn in a corner or along the edge of the map rather than the dead center. The moment your hellpod hits the dirt, call down your FRV or your Warp Pack immediately.
Don't just run blindly. Look up into the sky for golden beams of light or distinct blue and white structures. Simultaneously, open up your mini-map and look for those telltale gem-shaped "Point of Interest" icons.
Sprint or drive from one point of interest to the next. Your primary targets are three specific container types:
Crashed Escape Pods: Look for blinking blue lights. Run up, interact with them to salute, and the hatch will pop open to reveal your rewards.
Two-Button Buddy Bunkers: If you're playing with a friend, just press the buttons together. If you're solo, don't ignore them—you can use the Warp Pack glitch (diving and teleporting against the door) or back a Mech suit up to the door and exit to phase right inside. Bunkers are goldmines that frequently drop multiple credit stacks.
Metal Cargo Containers: These look like shipping containers buried into the sides of dirt mounds. Instead of throwing grenades, just shoot the center seams with your AMR or Grenade Pistol to instantly blow the doors open.
Most of the time, picking up a credit stack gives you 10 Super Credits. However, every single drop has a rare chance to reward a massive 100 SC jackpot bundle. This is why it pays to be thorough; clearing the entire map ensures you never miss a potential jackpot.
Once you have cleaned out all the points of interest, stop. Do not finish the main objective. If you complete it, you'll trigger the extraction sequence and waste precious minutes. Instead, simply press pause, hit "Return to Ship Alone", and confirm. You will instantly be back on your bridge with 100% of your farmed credits intact. Select a brand-new Trivial mission and repeat the loop.
Once you've done this for an hour or two and unlocked your first 1,000 Super Credits, you can buy your Premium Warbond—but don't just spend your medals randomly.
Prioritize unlocking the currency pages inside the Warbond first. Every Premium Warbond actually contains up to 300 Super Credits hidden across its various reward tiers. By spending your hard-earned Medals to unlock these currency pages early, you effectively reduce the net cost of the Warbond down to just 700 Super Credits. This kickstarts your funds for the next release, keeping the cycle going without ever needing to spend a single dime of real money.


Share this page with your family and friends.